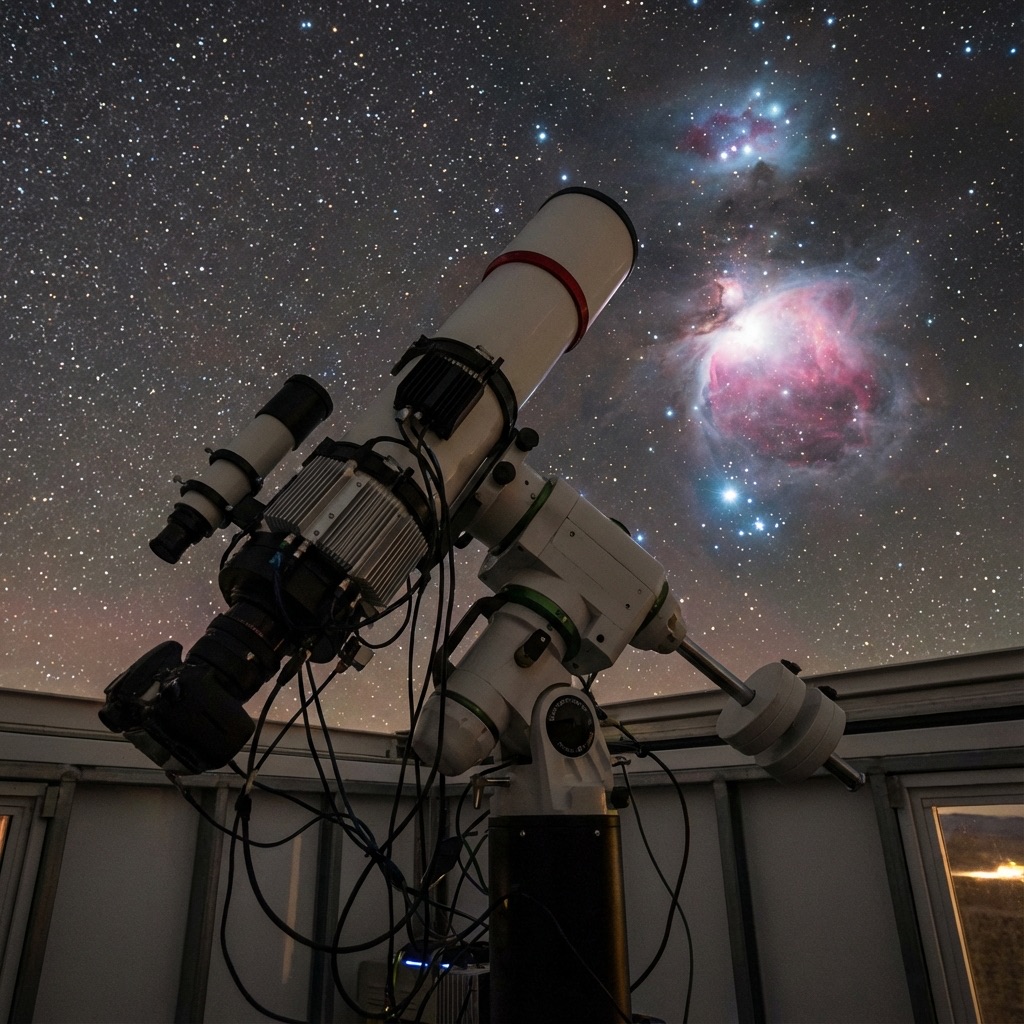
Deep Sky Imaging: The Complete Setup Guide
You've mastered wide-field Milky Way shots and you're ready for the next challenge: galaxies, nebulae, and star clusters. Deep sky imaging requires dedicated equipment and technique, but the results—capturing light from objects millions of light-years away—are extraordinarily rewarding.
DH Research Lab
Data & Editorial Board
Expert Tested Gear & Affiliate Disclosure
This guide contains affiliate links. As an Amazon Associate, we earn from qualifying purchases.
01Why Deep Sky is Different
Deep sky objects (DSOs)—galaxies, nebulae, and star clusters—are incredibly faint. Unlike lunar or planetary photography where you're capturing brilliant light sources, deep sky work is about gathering photons over long periods.
Tracking Accuracy — In wide-field photography, the "Rule of 500" or NPF rule allows for short, static exposures. At the focal lengths used for DSOs (400mm+), the stars will streak in just a few seconds without a high-precision equatorial mount.
Signal-to-Noise Ratio (SNR) — Because DSOs are faint, the "noise" generated by your camera sensor can easily overwhelm the "signal" from the galaxy. We solve this by taking dozens of long exposures and "stacking" them to cancel out the noise.
This is a significant investment. A capable beginner deep sky setup typically runs $2,000–$4,000. However, the reward is capturing structures like the Andromeda Galaxy or the Horsehead Nebula from your own backyard.
The Mount is Everything
02Selecting Your Imaging Optics
While many beginners reach for the largest telescope possible, "short and fast" is often better for starting deep sky imaging.
Small Refractors (60mm - 80mm) — These are the gold standard for beginners. They are lightweight, require little maintenance, and don't need collimation. Their wider field of view is also much more forgiving of tracking errors.
Newtonian Reflectors (130mm - 200mm) — These offer the most "aperture per dollar." They are excellent for faint nebulae but require regular collimation and a "Coma Corrector" to prevent stars from looking like seagulls at the edges of the frame.
SCTs (Schmidt-Cassegrains) — High focal length (2000mm+) makes these great for small galaxies, but they are extremely difficult for beginners to guide and require very expensive, heavy-duty mounts.
Apo Refractors
Look for triplet (ED) glass to ensure stars are sharp and free of purple fringes.
Field Flatterers
Almost all telescopes need a dedicated flattener to keep stars round to the corners.
Speed (f/ratio)
An f/5 telescope captures light twice as fast as an f/7 scope. Faster is almost always better.
03The Camera: DSLR vs. Dedicated Astro
You can start with a DSLR, but you'll eventually want a dedicated "cooled" CMOS camera.
DSLRs & Mirrorless:
- Pros: Versatile, easy to use, no laptop required initially
- Cons: Suffer from thermal noise in summer; red-blocking filters prevent you from seeing H-alpha nebulae clearly.
Dedicated Astronomy Cameras:
- Pros: Thermoelectric cooling (TEC) reduces noise to near-zero; much higher sensitivity in the deep red spectrum.
- Cons: Requires a laptop or mobile controller (like an ASiair) to operate; no built-in screen or battery.
ZWO ASI533MC Pro
“The best first dedicated astro-camera.”
RATIONALE
It features a zero-amp-glow sensor and high-efficiency cooling. The square sensor is very approachable for beginners, and the noise performance is industry-leading.
04Processing & Software Ecosystem
Modern astrophotography is as much about software as it is about hardware.
Acquisition Software:
- N.I.N.A. (Windows, Free) — The powerhouse for automated imaging.
- ASiair Plus (Mobile, Paid) — A dedicated hardware bridge that lets you control everything from your iPad.
- PhD2 (Windows/Mac, Free) — The industry standard for "autoguiding" (keeping your tracking frame-perfect).
The Post-Processing Workflow:
- Stacking — Use DeepSkyStacker or Siril to combine your subs.
- Calibration — Apply Darks, Flats, and Bias frames to remove vignetting and sensor artifacts.
- Stretching — Deep sky images are "linear" (dark) out of the camera. You must "stretch" the histogram to reveal the faint detail.
- Color Work — Use PixInsight or Affinity Photo for final color balancing and noise reduction.
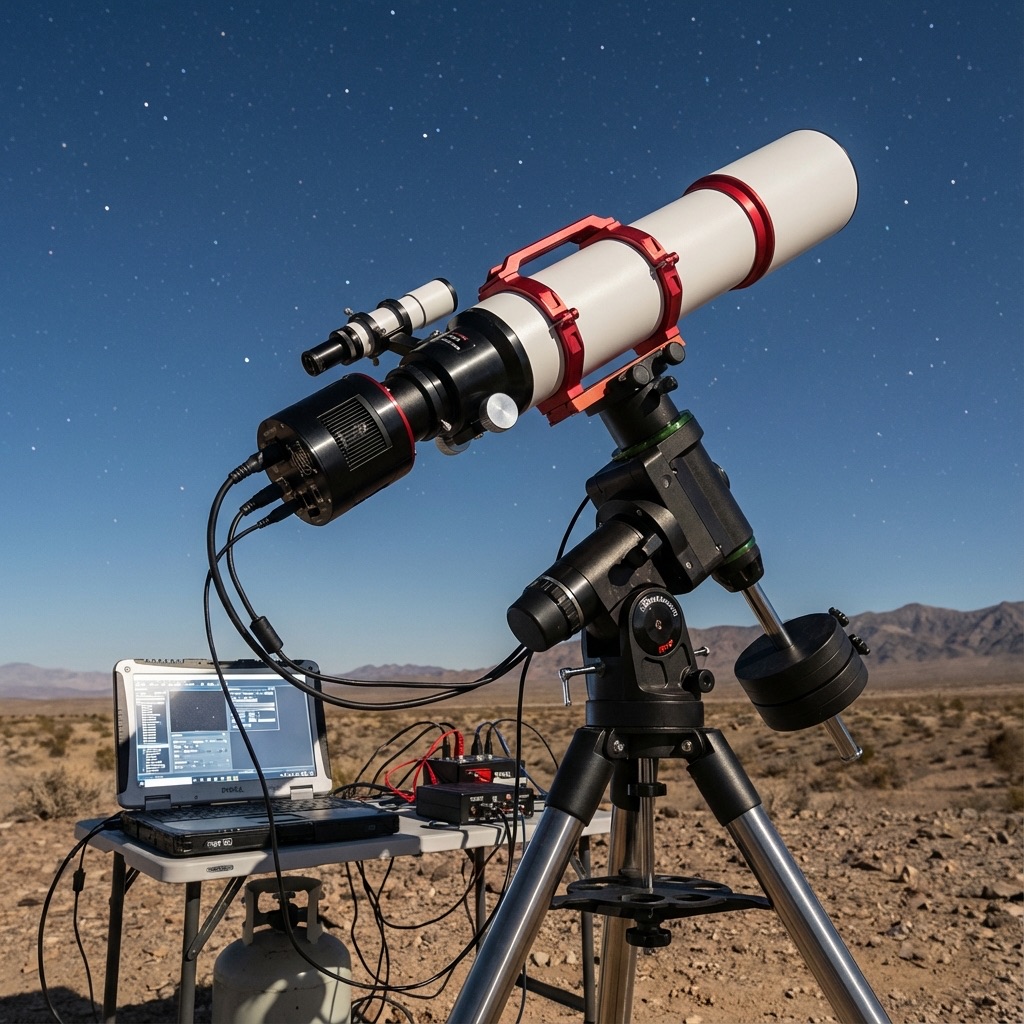
05Power & Cable Management
A deep sky rig has a lot of cables. You need to power the mount, camera cooling, dew heaters, and likely a mini-PC or laptop.
Power Solutions:
- LiFePO4 Batteries — Safer and longer-lasting than lead-acid batteries for field use.
- Pegasus Powerbox — A central hub that mounts to your telescope and distributes power through a single main cable, preventing "cable snag" as the mount moves.
Cable Snag Warning: Always perform a "dry run" of your mount's movement. If a cable catches or gets pulled tight during a 360-degree rotation, it can destroy your camera's USB port or damage your mount motors.
Frequently Asked Questions
Q:What is the minimum equipment needed for deep sky imaging?
At minimum, you need an equatorial tracking mount (like a Star Adventurer or HEQ5), a telephoto lens or small refractor, and a DSLR/Mirrorless camera. However, a 'complete' rig also adds an autoguiding camera and a laptop for control.
Q:Why do I need a tracker for deep sky objects?
Deep sky objects are very faint. Because the Earth rotates, long exposures (more than a few seconds) will result in star trails. A tracker moves the camera at the same speed as the stars, allowing for minutes-long exposures.
Q:What are 'Dark, Flat, and Bias' frames?
These are calibration frames. Darks remove thermal sensor noise; Flats remove dust motes and lens vignetting; Bias frames remove the electronic base noise of the sensor. They are essential for clean, high-pro processing.
Q:Should I buy a dedicated astro camera or a DSLR?
Start with a DSLR if you already own one. However, dedicated astro cameras have cooling (TEC) which dramatically reduces noise and they are sensitive to H-alpha light (common in nebulae) which standard DSLRs block.
Q:Is astrophotography hard to learn?
The hardware setup has a steep learning curve, especially 'plate solving' and 'autoguiding.' However, modern software like the ASiair has made it significantly easier for beginners to get professional results in their first month.
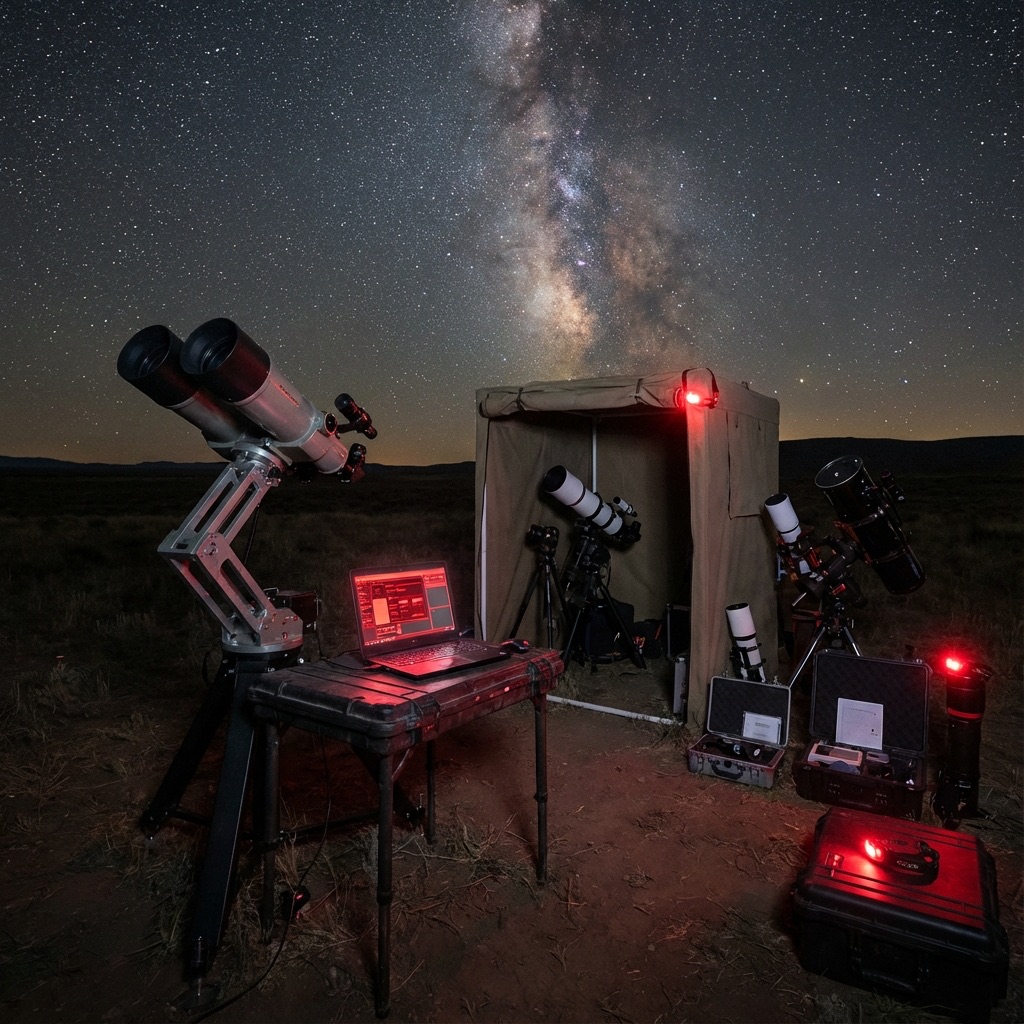
Don't waste a clear-night chance
Get the field checklist, then use DarkestHour to decide if tonight's sky is actually worth your time, setup or travel.
Learn first. Decide with the map.
DarkestHour guides are free trust builders. Use them to understand conditions, then use Pro for saved spots, alerts and best-night decisions.
Find Your Darkest Sky
Use our real-time satellite maps to find locations with zero light pollution.
Launch Interactive MapPlan Your Deployment
Ready to experience these dark skies yourself? Use our interactive map to find the best dark-sky certified hotels, desert cabins, and observatories near this location.
Booking through this map supports Darkest Hour's light pollution research.
Your Learning Roadmap
You've mastered the advanced basics. The next logical step in your technical progression is mastering astrophotography workflows.
MANDATORY FIELD EQUIPMENT
Celestron NexStar 8SE
The gold standard for deep-sky observation. 203mm aperture for maximum light gathering.
ZWO Seestar S50
Fully robotic imaging system. Perfect for urban environments and rapid deployment.
Peak Design Travel Tripod
Zero-latency stability for long exposure astrophotography. Carbon fiber construction.
Continue Your Research
Professional Astrophotography Gear: Deep Sky Setup
Build the ultimate deep sky rig with cooled cameras, precision harmonic mounts, and apochromatic imaging telescopes for serious astrophotography.
Professional Stargazing Gear: The Ultimate Field Setup
Discover the ultimate field setup for dedicated observers, featuring premium optics, all-weather protection, and professional station accessories.
Planetary Defense: How Amateurs Track 'Killer' Asteroids
Learn how to use your backyard telescope for planetary defense. A guide to tracking Near-Earth Objects (NEOs) and submitting data to the Minor Planet Center.
End of Dossier • Research Complete