Astrophotography Time-lapses: The Egg Timer Hack
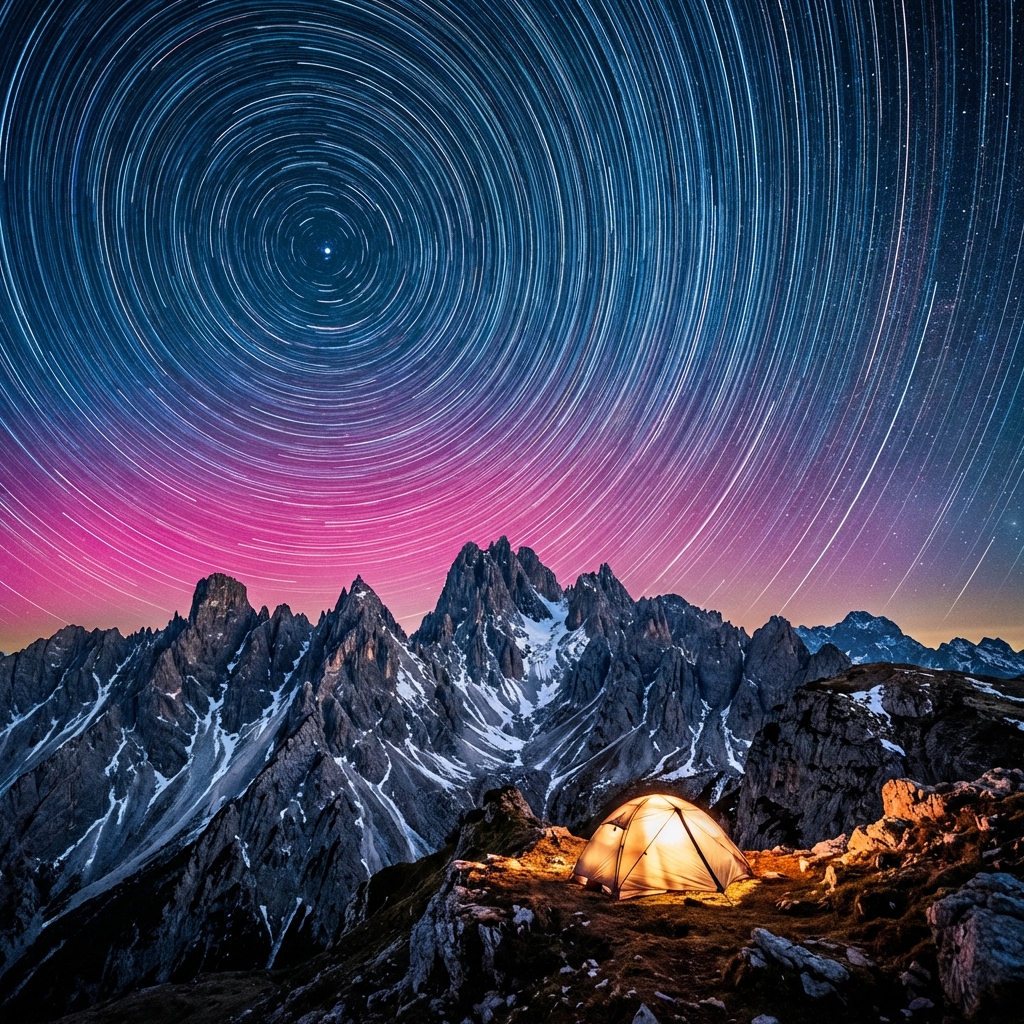
A single photo of the Milky Way is beautiful. A video of the Milky Way rising over a mountain peak, with clouds flowing like water and satellites zipping past, is mesmerizing. Time-lapses capture the dynamic motion of our universe. Best of all, you can start with a kitchen timer.
DH Research Lab
Data & Editorial Board
Expert Tested Gear & Affiliate Disclosure
This guide contains affiliate links. As an Amazon Associate, we earn from qualifying purchases.
01The Math of Time-lapse
Video typically plays back at 24 or 30 frames per second (fps).
To make 10 seconds of video at 24fps, you need: 10 seconds x 24 frames = 240 photos.
If each photo exposure is 20 seconds, plus a 2-second buffer, that's 22 seconds per shot. 240 photos x 22 seconds = 5,280 seconds = ~88 minutes.
So, you need to stand in the cold for 1.5 hours to get 10 seconds of footage. Welcome to astrophotography!
Interval Settings
02The Egg Timer Hack
Professional motion control rigs cost $500+. But you can add panning motion for about $10 using an Ikea egg timer (or any flat-top kitchen timer).
How it works:
- Buy a flat-top mechanical kitchen timer (usually rotates 360° in 60 minutes).
- Stick a GoPro adhesive mount or screw a tripod ball head onto the top of it.
- Mount the timer to your tripod.
- Mount your camera to the timer.
The Result: As the timer ticks, it slowly rotates your camera. In 60 minutes, it pans 360 degrees (too fast usually) or 90 degrees depending on the timer. It creates a smooth, sweeping panning motion that makes your time-lapse look cinematic. Note: This works best for lightweight setups (Action cams, phones, or small mirrorless + wide lens).
Ikea ORDNING Timer
“The classic analog steel timer.”
RATIONALE
It's mechanical, requires no batteries, and can handle the weight of a phone or GoPro easily.
03The Holy Grail: Day-to-Night
The hardest time-lapse is the transition from sunset to full starry night. The light changes by 20 stops!
Method 1: Aperture Priority (Av) Let the camera decide the shutter speed. Problem: You get "flicker" because the camera's metering jumps around.
Method 2: Bulb Ramping (Bramping) You manually adjust ISO and Shutter speed every few minutes as it gets darker. Problem: It's tedious and easy to mess up.
The Solution: Use an external intervalometer app (like qDslrDashboard) or a device inside your camera (like Magic Lantern for Canon) to smoothly ramp exposures.
04Red Light Etiquette
If you are shooting time-lapses at a dark sky park or star party, NEVER use a white headlamp. You will ruin everyone's photos and night vision.
Use a dedicated red-light headtorch. Red light doesn't bleach the visual purple (rhodopsin) in your eyes, preserving your night vision.
Black Diamond Spot 400
“Rugged headlamp with dedicated red night-vision mode.”
RATIONALE
It has a feature where you can turn it on directly into Red Mode without cycling through white light first. Essential.
Don't waste a clear-night chance
Get the field checklist, then use DarkestHour to decide if tonight's sky is actually worth your time, setup or travel.
Learn first. Decide with the map.
DarkestHour guides are free trust builders. Use them to understand conditions, then use Pro for saved spots, alerts and best-night decisions.
Find Your Darkest Sky
Use our real-time satellite maps to find locations with zero light pollution.
Launch Interactive MapYour Learning Roadmap
You've mastered the astrophotography basics. The next logical step in your technical progression is mastering astrophotography workflows.
MANDATORY FIELD EQUIPMENT
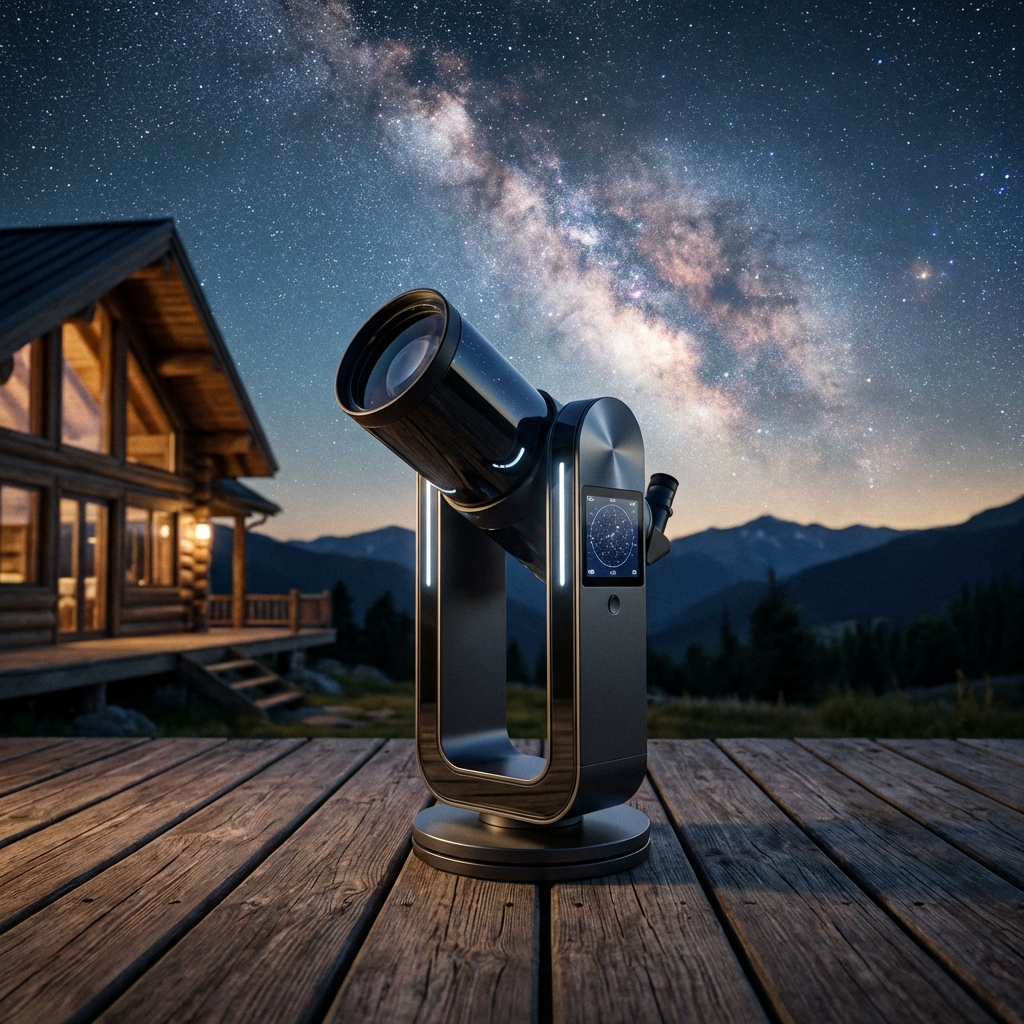
Celestron NexStar 8SE
The gold standard for deep-sky observation. 203mm aperture for maximum light gathering.
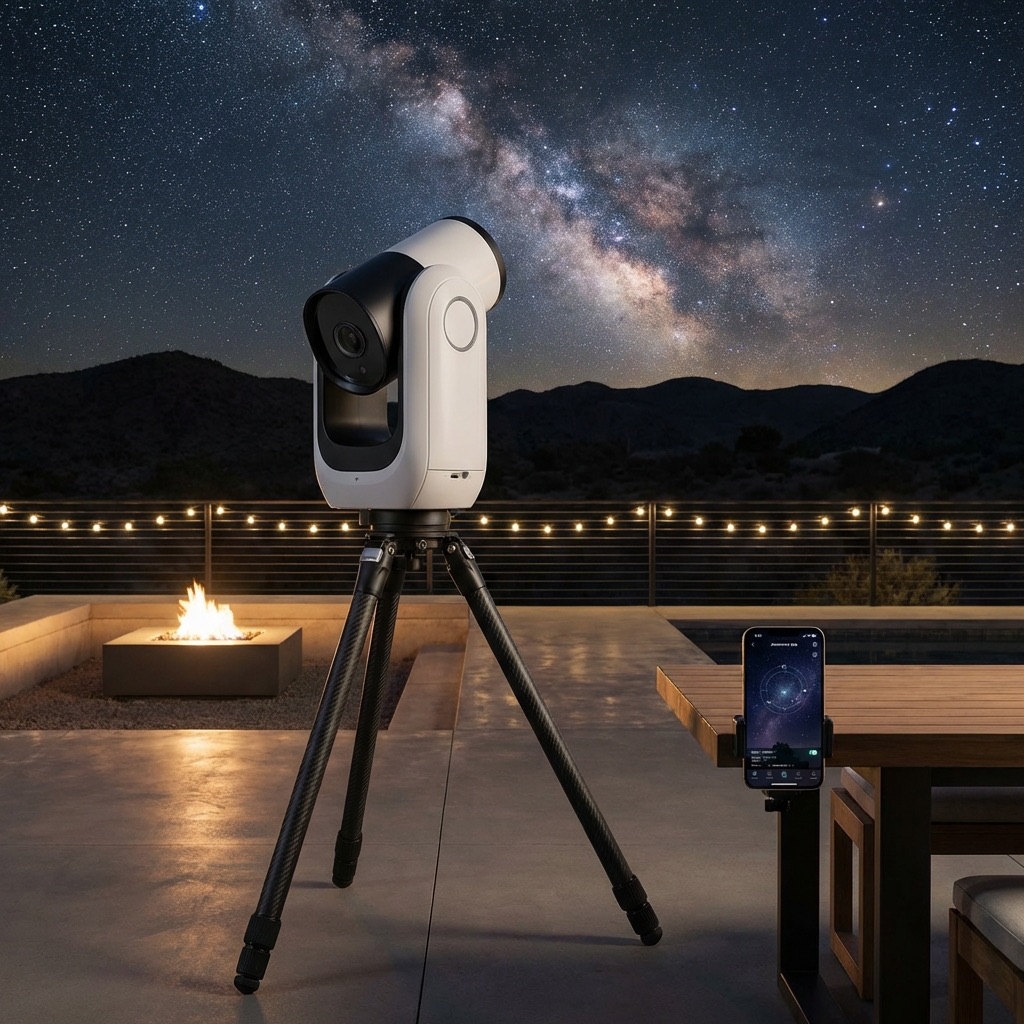
ZWO Seestar S50
Fully robotic imaging system. Perfect for urban environments and rapid deployment.
Peak Design Travel Tripod
Zero-latency stability for long exposure astrophotography. Carbon fiber construction.
Continue Your Research
Dwarf III Review: The Ultimate Pocket-Sized Smart Telescope
Tiny but powerful. Discover why the Dwarf III is the best travel telescope for wide-field astrophotography and wildlife spotting.
Star Trackers & Long Exposures: How to Turn the Earth Off
Why a star tracker is the biggest upgrade for astrophotography. We cover polar alignment, NPF rule vs tracked, and recommended gear.
The Smart Telescope Revolution: Seestar, Origin, & Dwarf 3
Robots are taking over astrophotography. Compare the best smart telescopes of 2026: Seestar S50 vs Celestron Origin vs Dwarf 3.
End of Dossier • Research Complete