Mobile Astrophotography: Capture the Night Sky with Your Phone
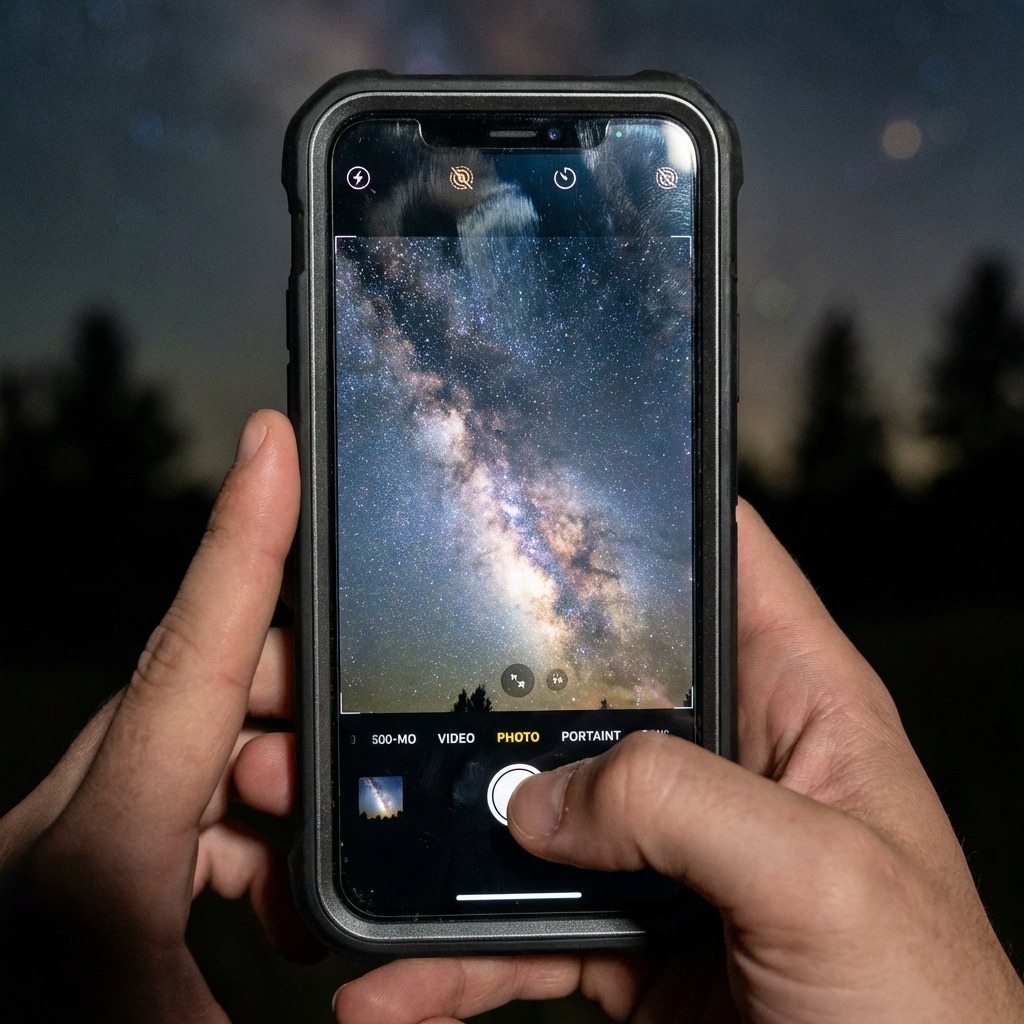
You don't need a $3,000 camera to photograph the night sky. Modern smartphones—especially iPhone 14 and later or recent Google Pixels—can capture stunning shots of the Moon, Milky Way, and even deep sky objects. I've shot award-worthy astrophotos with just my phone and a $30 adapter. Here's how you can too.
DH Research Lab
Data & Editorial Board
Expert Tested Gear & Affiliate Disclosure
This guide contains affiliate links. As an Amazon Associate, we earn from qualifying purchases.
01What Your Phone Can (and Can't) Capture
Modern smartphone cameras have come remarkably far. Here's a realistic expectation guide:
Works Great:
- Moon close-ups (with telescope adapter)
- Star trails (with long exposure app)
- Milky Way core (from dark sites)
- Meteor streaks (with patience)
- Northern lights / Aurora
- Conjunctions (planets close together)
Challenging but Possible:
- Jupiter's moons (tiny dots)
- Orion Nebula (faint smudge)
- Andromeda Galaxy (barely visible)
Not Practical:
- Deep sky detail (galaxies, nebulae detail)
- Planetary surface features
- Dim satellites
The key is working within your phone's strengths: wide field of view, good low-light sensors, and easy sharing.
Night Mode is Your Friend
02Essential Gear for Phone Astrophotography
Your phone is powerful, but it can't do everything alone. Here's the minimal kit:
Must Have:
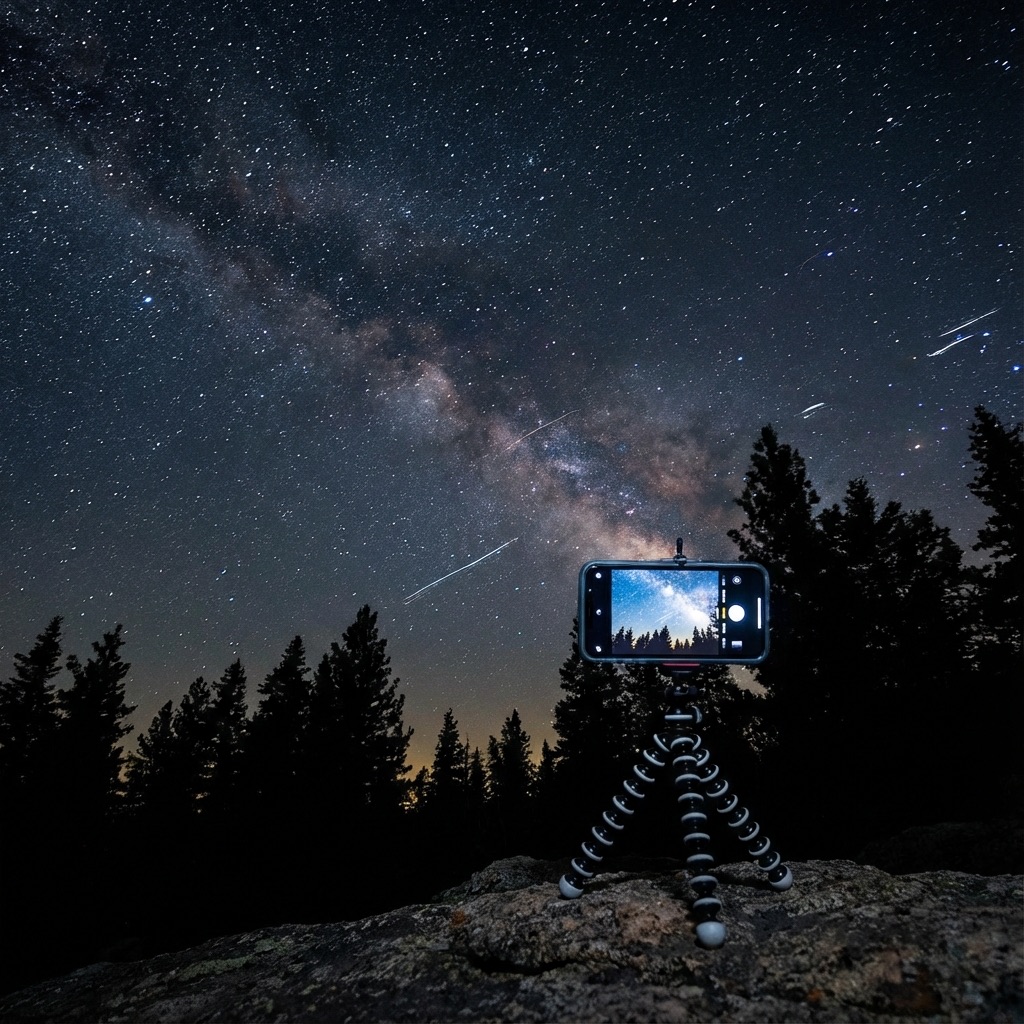
- Tripod + Phone Mount — Hand-held shots will be blurry. Period.
- Bluetooth Remote — Pressing the screen causes shake
Nice to Have:
- Wide-Angle Clip-On Lens — Captures more sky
- Telescope Phone Adapter — For lunar close-ups
- Red Flashlight — Preserves night vision
Total investment: $50-100 can get you excellent results.
Celestron NexYZ Universal Phone Adapter
“Fits any phone to any telescope eyepiece for lunar/planetary shots.”
RATIONALE
The 3-axis design makes alignment easy. I've used this with 10+ different phones and telescopes.
03Shooting the Moon (Phone + Telescope)
The Moon is the easiest and most impressive target for phone astrophotography. With a telescope adapter, you can capture crater-level detail.
Setup:
- Attach phone adapter to telescope eyepiece
- Align phone camera with eyepiece
- Use manual focus (tap and hold on Moon)
- Reduce exposure if the Moon is overexposed
- Shoot in RAW if possible
Settings:
- Exposure: -1 to -2 EV (Moon is bright!)
- Focus: Manual, on the limb (edge) of the Moon
- White balance: Auto or daylight
- Burst mode for best sharpness
Pro tip: The terminator (line between light and dark) shows the most detail. Shoot during crescent or quarter phases, not full moon.
Best Phase
Quarter and crescent show the most surface detail.
RAW Mode
Shoot RAW for better post-processing flexibility.
Steady Air
Good 'seeing' makes or breaks lunar shots.
04Capturing the Milky Way (Phone Only)
Yes, your phone can photograph the Milky Way—if you have dark skies and know the tricks.
Requirements:
- Bortle 4 or darker (check our Dark Sky Map)
- New moon or moon below horizon
- Clear skies, no clouds
- Tripod (absolutely essential)
iPhone Settings (Night Mode):
- Open Camera, wait for Night Mode to activate
- Max out the exposure time (30 seconds if on tripod)
- Frame the Milky Way using the composition preview
- Use timer or Bluetooth remote to avoid shake
- Wait patiently for the exposure to complete
Google Pixel (Astrophotography Mode):
- Open Camera > Night Sight
- Mount phone on tripod (mode only activates when stable)
- "Astrophotography" appears automatically
- Tap shutter and wait (4-minute exposure typical)
Post-Processing:
- Increase contrast and clarity
- Boost shadows
- Add subtle saturation
- Reduce noise
The results can be genuinely impressive—I've printed 8x10s from phone Milky Way shots.
JOBY GorillaPod 3K PRO Kit
“Flexible tripod that wraps around anything—perfect for uneven terrain.”
RATIONALE
Dark sky sites often lack flat surfaces. This tripod wraps around fence posts, rocks, car mirrors.
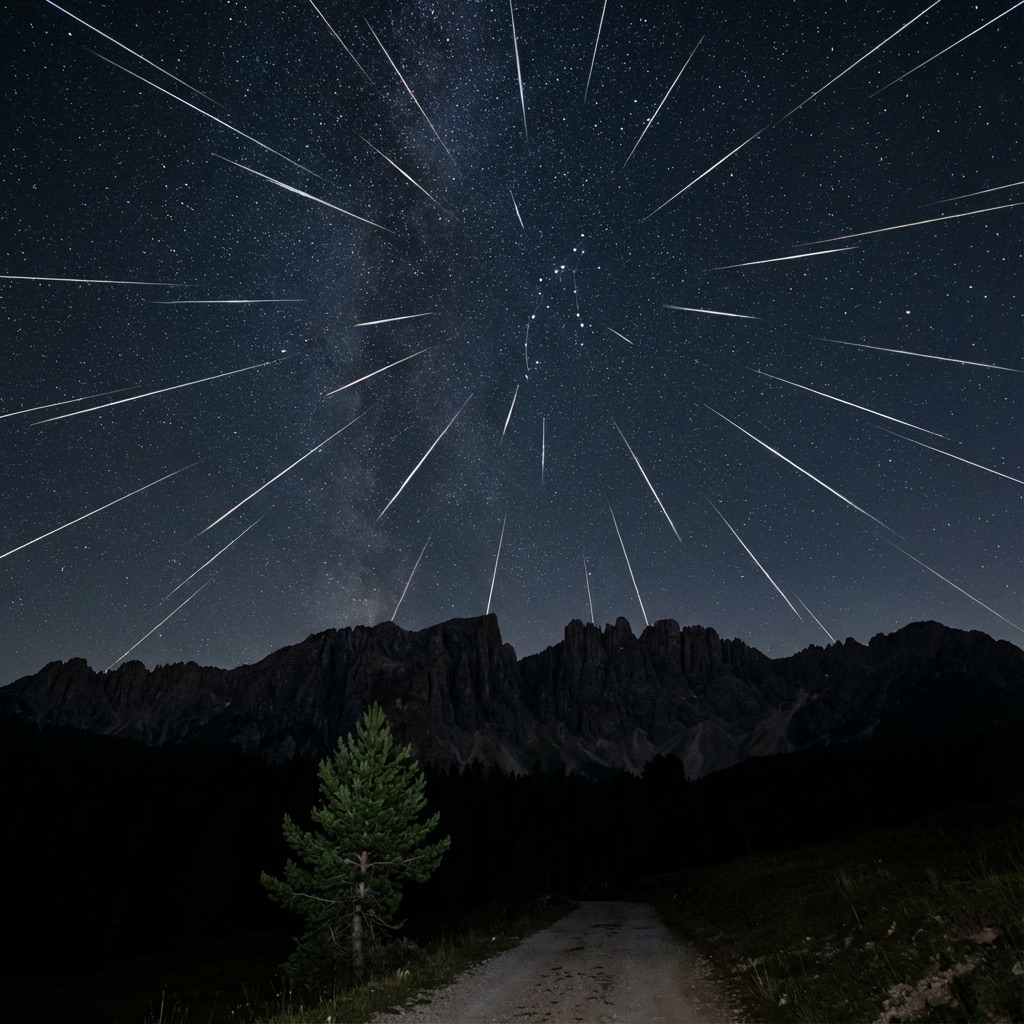
05Shooting Star Trails
Star trails—those circular streaks showing Earth's rotation—are dramatic and surprisingly easy with a phone.
Method 1: Long Exposure Apps Apps like Slow Shutter Cam (iOS) or Camera FV-5 (Android) allow exposures of 30+ minutes. Point at Polaris (North Star) for circular trails.
Method 2: Video Stacking
- Shoot 30-60 minutes of video (use a power bank!)
- Extract frames
- Stack in StarStaX or similar software
- Result: Beautiful trails with minimal effort
Method 3: Multiple Photos
- Set phone to take a photo every 10-30 seconds
- Use intervalometer app
- Stack 100+ images in post
Settings:
- Longest exposure your app supports
- ISO 400-800 (balance brightness vs. noise)
- Focus on a bright star
- Interval: every 10-30 seconds for stacking method
Polaris = Circles
06Aurora with Your Phone
The northern (and southern) lights are often MORE impressive on camera than to the eye. Phones excel at aurora photography.
Why phones work well:
- Aurora moves slowly (1-15 second exposures are fine)
- Bright enough for phone sensors
- Wide-angle lenses capture the grandeur
- Instant sharing to prove you saw them!
Settings:
- Night Mode with max exposure
- Or manual: ISO 800-3200, 5-15 second exposure
- Include foreground (trees, mountains) for context
- Shoot video too—timelapse aurora is magical
Check conditions first! Use our Dashboard to monitor the Kp index. Kp 5+ means auroras are likely visible from mid-latitudes.
Anker 737 Power Bank (25,600mAh)
“High-capacity power bank for long cold nights of shooting.”
RATIONALE
Cold drains batteries fast. This beast keeps your phone alive through hours of time-lapse shooting in sub-zero conditions.
07Stay Connected in the Dark
True dark sky sites are often dead zones for cell service. If you're live-streaming your session or need to upload massive 4K timelapses from the field, you need satellite internet.
Why we use Starlink:
- High-speed low-latency connection anywhere you can see the sky.
- Perfect for checking live weather radar or satellite cloud maps.
- Upload your shots to the cloud immediately (essential backup).
Remote Upload
Backup your RAW files to the cloud instantly from the field.
Live Weather
Check high-res satellite radar for incoming clouds in real-time.
Low Power
The new Mini dishes run easily off a portable power station.
08Best Apps for Phone Astrophotography
Camera Apps:
- ProCam (iOS) — Full manual controls, RAW, long exposure
- Camera FV-5 (Android) — DSLR-like controls
- NightCap Camera (iOS) — Dedicated astro modes
- Slow Shutter Cam (iOS) — Star trails and light trails
Planning Apps:
- PhotoPills — AR view of Milky Way position
- Stellarium — Sky map to know what you're shooting
- Clear Outside — Weather forecasting for astronomy
- Our Dashboard — Light pollution, weather, aurora alerts
Post-Processing:
- Snapseed — Free, powerful, includes curves and selective adjustments
- Lightroom Mobile — Professional-grade editing
- TouchRetouch — Remove airplane trails
Tip: When shooting RAW, the preview will look terrible. Trust the data—the magic happens in post-processing.
Shoot RAW
More data = more flexibility in editing.
Dark Adaptation
Let your eyes adjust before composing.
Multiple Takes
Take 10+ shots; keep the best.
09Quick Start Checklist
Ready to try tonight? Here's your checklist:
Before You Go:
- Check weather on our Dashboard
- Verify moon phase (new moon = dark sky)
- Charge phone and power bank
- Pack tripod and phone mount
On Location:
- Allow 15+ minutes for dark adaptation
- Enable airplane mode (no notifications interrupting exposures)
- Test settings on a bright star first
- Take LOTS of shots (you'll delete most)
Post-Shoot:
- Back up to cloud immediately
- Edit in Snapseed or Lightroom
- Share your results!
The barrier to entry for astrophotography has never been lower. Your phone is more powerful than cameras professionals used 15 years ago. Get out there and shoot!
Frequently Asked Questions
Q:Can I photograph the Milky Way with my phone?
Yes, modern smartphones (iPhone 14+, Google Pixel 6+) can capture the Milky Way from dark sky locations. Use Night Mode with a 30-second exposure, mount your phone on a tripod, and shoot during new moon from a Bortle 4 or darker location.
Q:What is the best phone for astrophotography?
Google Pixel phones with dedicated Astrophotography Mode and iPhones with Night Mode are both excellent. The Pixel's 4-minute automatic stacking captures more detail, while iPhones offer easier manual control and better video.
Q:How do I photograph the Moon with my phone?
Use a telescope phone adapter to mount your phone to a telescope eyepiece. Tap to lock focus on the Moon, reduce exposure by -1 to -2 EV (the Moon is very bright), and use a Bluetooth remote to avoid shake.
Q:What apps do I need for phone astrophotography?
Essential apps include: ProCam or NightCap Camera for manual controls, Stellarium for sky maps, PhotoPills for planning Milky Way shots, and Snapseed or Lightroom Mobile for post-processing.
Q:Do I need a tripod for phone astrophotography?
Yes, absolutely. Long exposures of 10-30+ seconds require a tripod—hand-held shots will be hopelessly blurry. A basic phone tripod mount ($15-30) is essential gear for any night sky photography with a smartphone.
Don't waste a clear-night chance
Get the field checklist, then use DarkestHour to decide if tonight's sky is actually worth your time, setup or travel.
Learn first. Decide with the map.
DarkestHour guides are free trust builders. Use them to understand conditions, then use Pro for saved spots, alerts and best-night decisions.
Find Your Darkest Sky
Use our real-time satellite maps to find locations with zero light pollution.
Launch Interactive MapYour Learning Roadmap
You've mastered the beginner basics. The next logical step in your technical progression is mastering intermediate acquisition.
MANDATORY FIELD EQUIPMENT
Celestron NexStar 8SE
The gold standard for deep-sky observation. 203mm aperture for maximum light gathering.
ZWO Seestar S50
Fully robotic imaging system. Perfect for urban environments and rapid deployment.
Peak Design Travel Tripod
Zero-latency stability for long exposure astrophotography. Carbon fiber construction.
Continue Your Research
Astrophotography for Beginners: Start with Your Phone
You don't need a DSLR. Learn how to capture the Moon, star trails, and even the Milky Way using just your smartphone and under $100 in accessories.
Meteor Shower Calendar 2026: Don't Miss These Events
Your complete guide to every major meteor shower in 2026. Find peak dates, hourly rates (ZHR), and expert photography tips for each event.
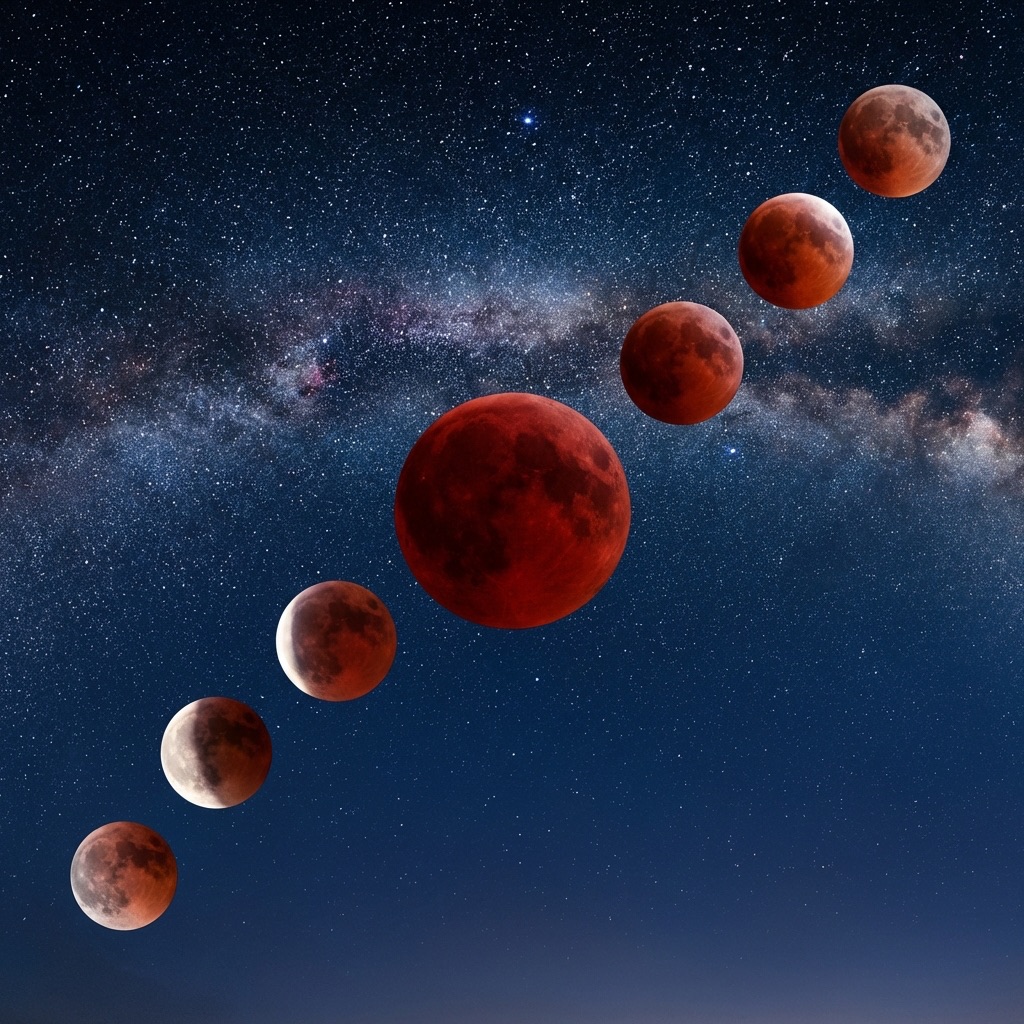
Total Lunar Eclipse March 2026: Blood Moon Guide
The last Blood Moon until 2028! Complete guide to the March 2026 total lunar eclipse with viewing times, photography settings, and essential gear picks.
End of Dossier • Research Complete