Aurora Photography: Settings, Gear & Techniques for Stunning Shots
Quantifying the photons of a high-latitude geomagnetic storm requires more than artistic intuition; it demands a precise understanding of sensor dynamics and atmospheric physics. In 2026, capturing high-cadence aurora currents necessitates sub-second acquisition times and optimized signal-to-noise ratios. This technical framework outlines the requisite hardware and post-processing protocols for transition from amateur snapshots to research-grade imaging.
DH Research Lab
Data & Editorial Board
Expert Tested Gear & Affiliate Disclosure
This guide contains affiliate links. As an Amazon Associate, we earn from qualifying purchases.
01The Aurora Photography Challenge
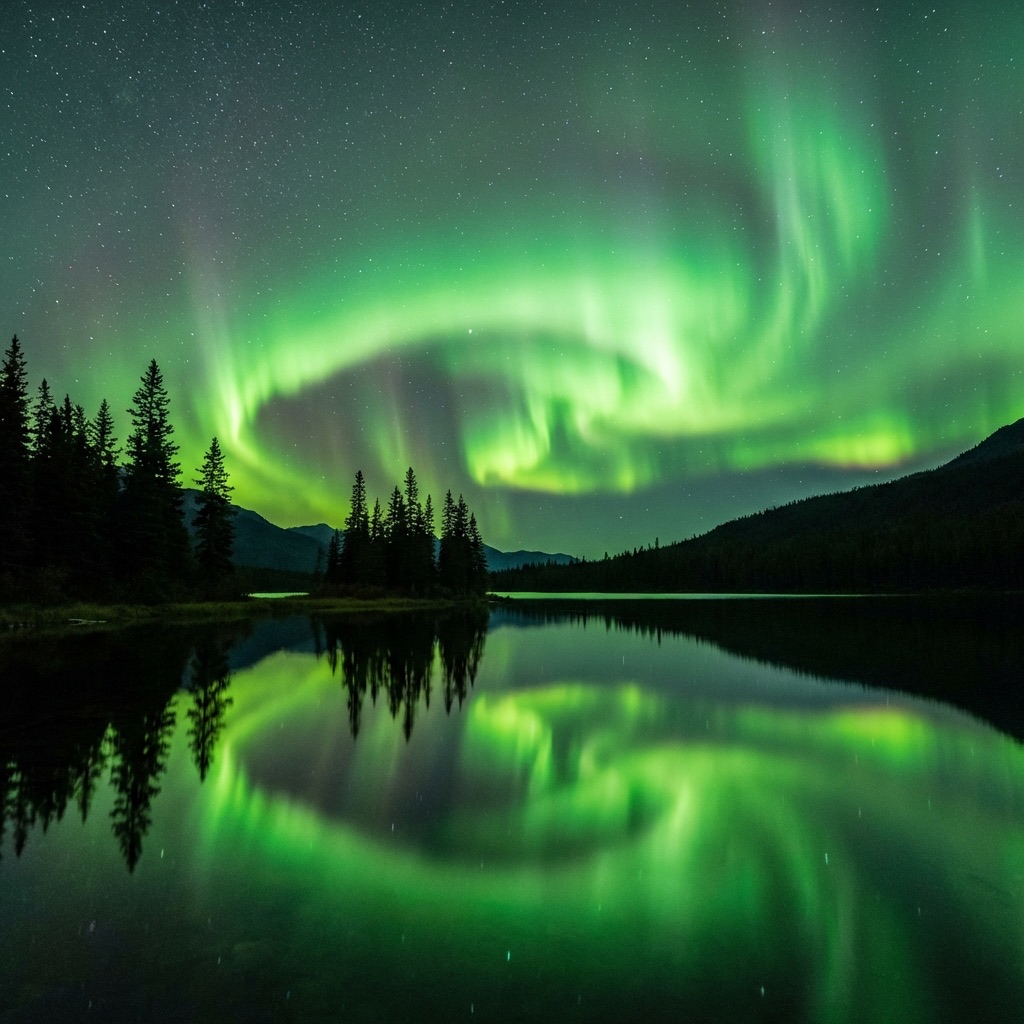
Unlike the Milky Way, which stays put, auroras are dynamic. They pulse, swirl, and sometimes explode across the sky in seconds. This means:
Fast shutter speeds — 1-8 seconds to freeze motion (not 20-30 like star photos) Higher ISOs — 1600-6400 to compensate for shorter exposures Wide apertures — f/2.8 or faster is essential
The biggest mistake beginners make? Using Milky Way settings (20-30 second exposures) and ending up with a green blob instead of defined curtains.
Tripod is Non-Negotiable
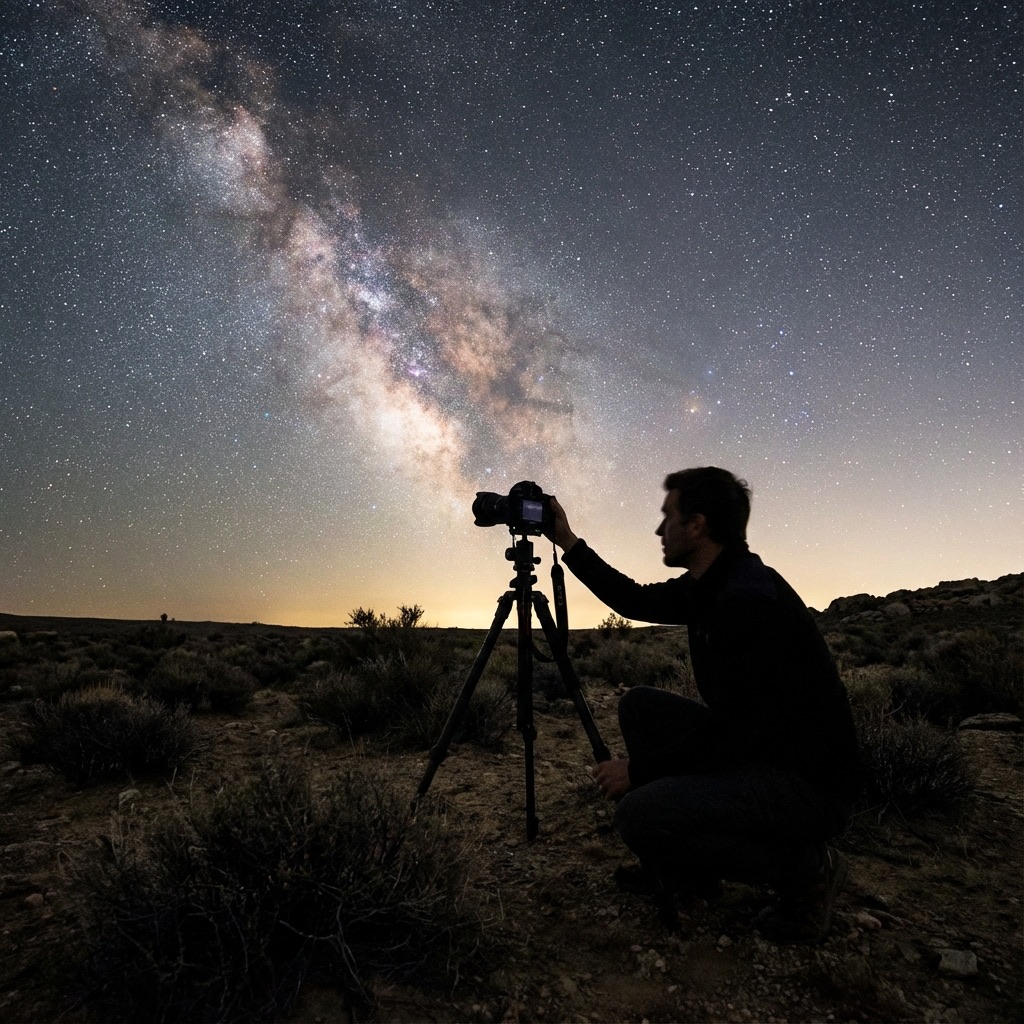
02Essential Camera Gear
For aurora photography, you need a camera with good high-ISO performance and a fast wide-angle lens. Here's my recommended kit:
Sony a7S III
“The low-light king — clean images at ISO 12,800+.”
RATIONALE
Purpose-built for low-light video and stills. Allows ISO 6400+ with minimal noise, perfect for fast aurora motion.
03Best Lenses for Aurora Photography
The Trinity of Aurora Lenses:
| Lens | Aperture | Use Case |
|---|---|---|
| 14mm f/2.8 | Ultra-wide | Full sky coverage, horizon to corona |
| 24mm f/1.4 | Wide | Best balance of speed and framing |
| 35mm f/1.4 | Standard | Details, portraits with aurora |
Budget Picks:
- Rokinon/Samyang 14mm f/2.8 (~$330)
- Sigma 16mm f/1.4 for APS-C (~$400)
Pro Picks:
- Sony 14mm f/1.8 GM (~$1,600)
- Nikon 14-24mm f/2.8 (~$1,900)
Sigma 14mm f/1.8 DG HSM Art
“The fastest ultra-wide available. Zero coma, stunning sharpness.”
RATIONALE
f/1.8 means 2x more light than f/2.8. In aurora photography, that's the difference between 4-second and 2-second exposures.
04Camera Settings by Aurora Activity
Auroras range from subtle horizon glows to overhead corona explosions. Adjust your settings accordingly:
Subtle/Quiet Aurora (Kp 2-3):
- Shutter: 10-15 seconds
- ISO: 3200-6400
- Aperture: Wide open (f/1.4-f/2.8)
- Result: Nice, but less defined structure
Active Aurora (Kp 4-5):
- Shutter: 4-8 seconds
- ISO: 1600-3200
- Aperture: f/2.8 or wider
- Result: Defined curtains and pillars
Intense Storm (Kp 6+):
- Shutter: 1-4 seconds
- ISO: 800-1600
- Aperture: f/2.8
- Result: Crisp rays, frozen motion
Corona/Overhead Display:
- Shutter: 0.5-2 seconds
- ISO: 1600-3200
- Aperture: Wide open
- Result: Radiating structure from overhead
Test Shots
Take 1-second test shots every few minutes to check activity and adjust.
Bracketing
In fast-changing light, bracket exposures (1, 2, 4, 8 seconds in burst).
Histogram
Expose to the right—slight overexposure gives better results after editing.
05Composition Tips
Include Foreground Elements:
- Silhouetted trees, mountains, or buildings add scale
- Reflections in lakes/fjords double your aurora
- Snow-covered landscapes bounce light beautifully
Leading Lines:
- Roads, fences, shorelines draw the eye into the aurora
- Position aurora at the end of the line
People in Aurora Shots:
- Use a second camera with flash or headlamp for separation
- 2-4 second exposures freeze subjects if they stay still
- Tell a story—person looking up in awe
Vertical vs. Horizontal:
- Pillars and corona: Vertical framing
- Wide displays: Panoramic horizontal
- Layer horizons low for maximum sky
Scout During the Day
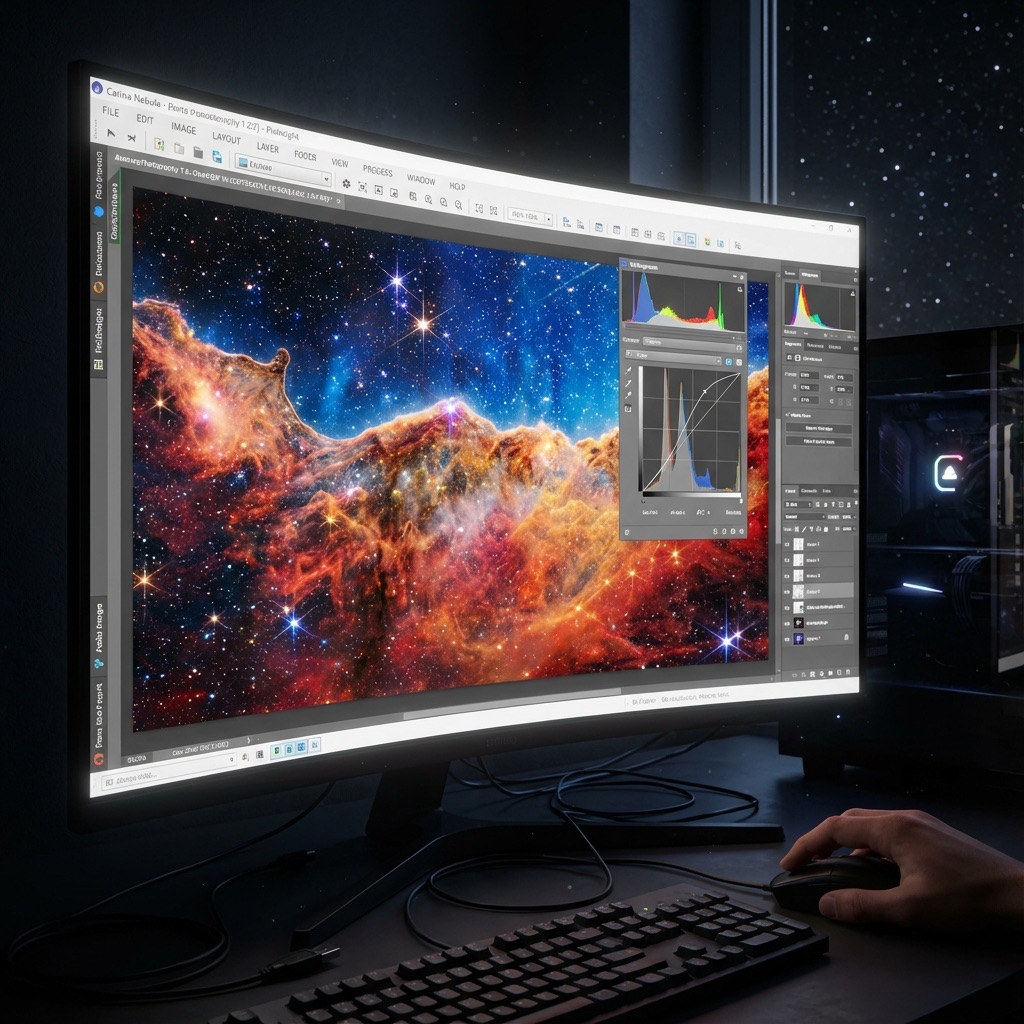
06Post-Processing Aurora Images
In Lightroom/Camera Raw:
- White Balance: Start around 3800K; adjust for pleasing greens/purples
- Exposure: +0.5 to +1 stop if you exposed for histogram
- Contrast: +20 to +40 to enhance curtain definition
- Dehaze: +10 to +25 for punch, but don't overdo it
- Saturation: Be restrained! +5 to +15 max. Oversaturated auroras look fake
- Noise Reduction: Luminance 20-40 depending on ISO
Advanced Techniques:
- Stack 5-10 images for cleaner results (in Sequator or Starry Landscape Stacker)
- Time-lapse sequences into video (shoot every 2-4 seconds)
- Focus stacking for foreground sharpness
Adobe Creative Cloud Photography
“Lightroom + Photoshop bundle for complete editing workflow.”
RATIONALE
Industry-standard tools for astro and aurora post-processing. Lightroom's masking handles the complex gradients of aurora images perfectly.
07Staying Warm While Shooting
You'll be outside for hours in freezing temperatures. Proper gear is essential:
Layering System:
- Base: Merino wool or synthetic moisture-wicking
- Mid: Down or synthetic insulation
- Outer: Windproof, waterproof shell
Extremities:
- Liner gloves + mittens (pull off for camera control)
- Wool socks + insulated boots (rated to -40°)
- Balaclava or buff for face protection
Battery Management:
- Cold kills batteries fast — keep spares in inside pockets
- USB hand warmers do double duty
- Some cameras (Sony, Nikon Z) can run on USB power banks
Heat Holders Thermal Socks
“Rated as warmest socks available — essential for stationary shooting.”
RATIONALE
Your feet will get cold first. These are rated to the highest warmth level and worth every penny when you're standing on snow for hours.
Don't waste a clear-night chance
Get the field checklist, then use DarkestHour to decide if tonight's sky is actually worth your time, setup or travel.
Learn first. Decide with the map.
DarkestHour guides are free trust builders. Use them to understand conditions, then use Pro for saved spots, alerts and best-night decisions.
Find Your Darkest Sky
Use our real-time satellite maps to find locations with zero light pollution.
Launch Interactive MapPlan Your Deployment
Ready to experience these dark skies yourself? Use our interactive map to find the best dark-sky certified hotels, desert cabins, and observatories near this location.
Booking through this map supports Darkest Hour's light pollution research.
Your Learning Roadmap
You've mastered the intermediate basics. The next logical step in your technical progression is mastering advanced deep sky setups.
MANDATORY FIELD EQUIPMENT
Celestron NexStar 8SE
The gold standard for deep-sky observation. 203mm aperture for maximum light gathering.
ZWO Seestar S50
Fully robotic imaging system. Perfect for urban environments and rapid deployment.
Peak Design Travel Tripod
Zero-latency stability for long exposure astrophotography. Carbon fiber construction.
Continue Your Research
Astrophotography on a Budget: Milky Way for Under $500
Learn to photograph the night sky with affordable equipment. Our complete gear guide shows you how to capture the Milky Way for under $500.
Light Pollution Solutions: Filters & Techniques
Fight back against city glow with the right light pollution filters and observing strategies. See more stars from your suburban backyard tonight.
Astrophotography Post-Processing: From RAW to Stunning
Transform flat, noisy RAW files into vibrant, detailed images. Our step-by-step post-processing guide covers stacking, stretching, and color correction.
End of Dossier • Research Complete