Astrophotography Post-Processing: From RAW to Stunning
You've captured your Milky Way shots, and they look... underwhelming straight out of camera. That's completely normal. The magic happens in post-processing. This guide walks you through transforming flat, noisy RAW files into the vibrant, detailed images you see online.
DH Research Lab
Data & Editorial Board
Expert Tested Gear & Affiliate Disclosure
This guide contains affiliate links. As an Amazon Associate, we earn from qualifying purchases.
01The Truth About Astro Images
Here's what nobody tells beginners: every stunning astrophotography image you've seen has been heavily processed. This isn't cheating—it's revealing data that's actually in your image but invisible to the eye.
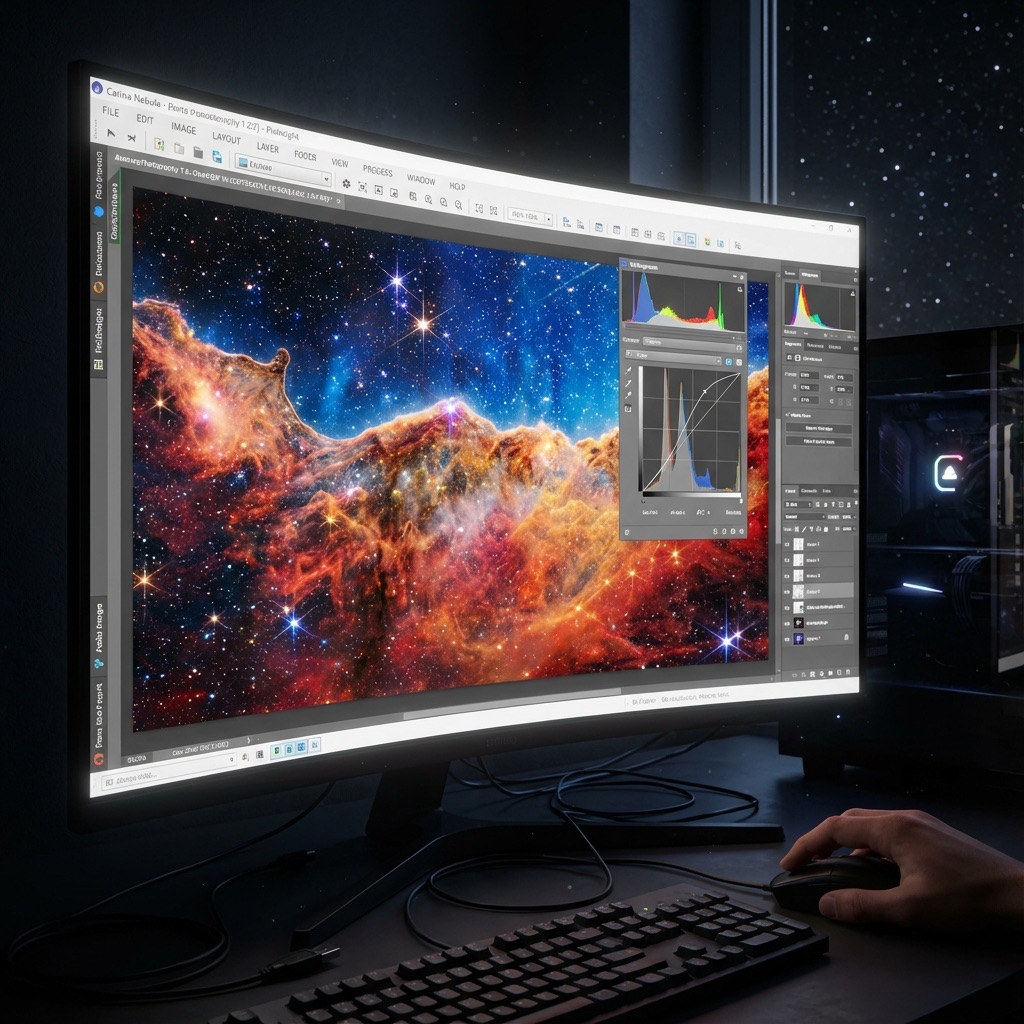
Camera sensors capture far more than monitors can display. A single RAW file contains 12-14 stops of dynamic range, but your screen usually only shows 8 bits (256 levels) of brightness. "Stretching" is the process of pulling the faint details of a nebula out of the dark background.
RAW straight-out-of-camera looks underwhelming. It's usually dark, lacks color, and has significant noise. That's perfectly normal. The post-processing phase is where the "art" of astrophotography happens.
Processing is Not Optional
02The Magic of Stacking
The single biggest secret to clean images is Signal-to-Noise Ratio (SNR). Every time you take a photo, the camera sensor records real light (signal) and random electronic heat (noise).
By taking 10, 20, or 100 identical shots and "stacking" them in software, the random noise cancels itself out while the real light from the stars stays in the same place.
Free Stacking Software:
- Sequator (Windows) — Excellent and fast for Milky Way and landscape astro.
- DeepSkyStacker (Windows) — The classic for galaxies and nebulae.
- Siril (Windows/Mac/Linux) — Professional-grade tools for advanced users.
Why Stack?
Stacking 16 images reduces noise by 4 times compared to a single frame.
Alignment
Stacking software automatically aligns stars even if they moved during the session.
Dithering
Moving the mount slightly between shots helps software remove fixed-pattern noise.
03The Step-by-Step Workflow
While every image is unique, here is the "Standard Operating Procedure" for processing a deep sky or Milky Way image:
1. Calibration & Stacking — Load your lights, darks, and flats into your stacking software to create a clean 'Master' file.
2. Background Extraction — City light pollution often creates a gradient (one side of the image is brighter than the other). Remove this first.
3. Color Calibration — Use a 'Photometric' tool or a manual white balance to ensure stars have their natural colors (blue, white, yellow, and red).
4. The 'Stretch' — This is the most critical step. Slowly pull the histogram sliders to brighten the nebula without blowing out the star cores.
5. Enhancement & Polish — Apply noise reduction, sharpen the fine details, and boost saturation in the nebulosity.
Adobe Lightroom Classic
“The best starting point for Milky Way and Star Trail editing.”
RATIONALE
The new AI-powered Denoise in Lightroom is a game-changer. It can salvage high-ISO shots that would have been unusable two years ago.
04Advanced Tools: PixInsight vs. Photoshop
Eventually, you'll outgrow general-purpose photo editors.
PixInsight is built by astronomers, for astronomers. It treats your image as a data array. Tools like 'BlurXTerminator' and 'StarNet++' (which removes stars so you can edit the nebula separately) have revolutionized the hobby.
Photoshop is better for final 'artistic' touches—selective color grading, adding glows, and blending a dark-sky Milky Way over a sharp landscape foreground.
Frequently Asked Questions
Q:Is photo editing in astrophotography 'cheating'?
No. Stargazing through an eyepiece is 'real time,' but sensors collect light differently. Processing is the scientific process of extracting real data that is buried in the RAW file. Every professional Hubble or James Webb image is also heavily processed.
Q:What is 'stretching' in astrophotography?
Stretching refers to increasing the brightness of the darkest parts of an image (the shadows) without affecting the brightest parts (the stars). This makes faint nebulae visible that were previously hidden in the dark.
Q:Which software is best for beginners?
For Milky Way shots, Adobe Lightroom or Sequator are best. For deep sky objects, Start with Siril (Free) or DeepSkyStacker before moving to the industry-standard PixInsight.
Q:Why should I 'shoot RAW' for astrophotography?
JPEGs are compressed and discard 80% of the sensor's data to save space. RAW files keep everything, allowing you to recover details in the shadows and highlights that would be lost in a JPEG.
Q:What does 'Starmasking' do?
It creates a mask that protects the stars while you edit the nebula. This allows you to boost the brightness and color of a galaxy without making the stars look bloated or weird.
Don't waste a clear-night chance
Get the field checklist, then use DarkestHour to decide if tonight's sky is actually worth your time, setup or travel.
Learn first. Decide with the map.
DarkestHour guides are free trust builders. Use them to understand conditions, then use Pro for saved spots, alerts and best-night decisions.
Find Your Darkest Sky
Use our real-time satellite maps to find locations with zero light pollution.
Launch Interactive MapYour Learning Roadmap
You've mastered the intermediate basics. The next logical step in your technical progression is mastering advanced deep sky setups.
MANDATORY FIELD EQUIPMENT
Celestron NexStar 8SE
The gold standard for deep-sky observation. 203mm aperture for maximum light gathering.
ZWO Seestar S50
Fully robotic imaging system. Perfect for urban environments and rapid deployment.
Peak Design Travel Tripod
Zero-latency stability for long exposure astrophotography. Carbon fiber construction.
Continue Your Research
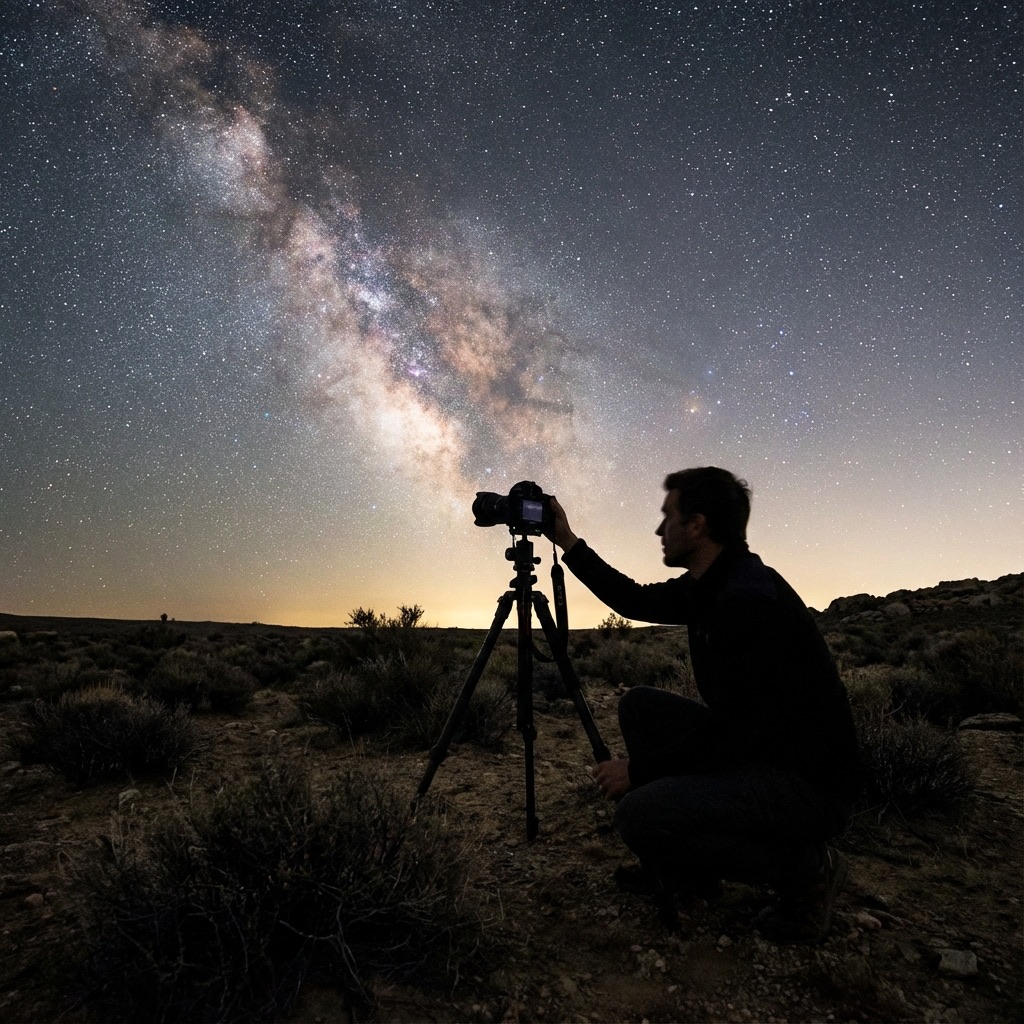
Astrophotography on a Budget: Milky Way for Under $500
Learn to photograph the night sky with affordable equipment. Our complete gear guide shows you how to capture the Milky Way for under $500.
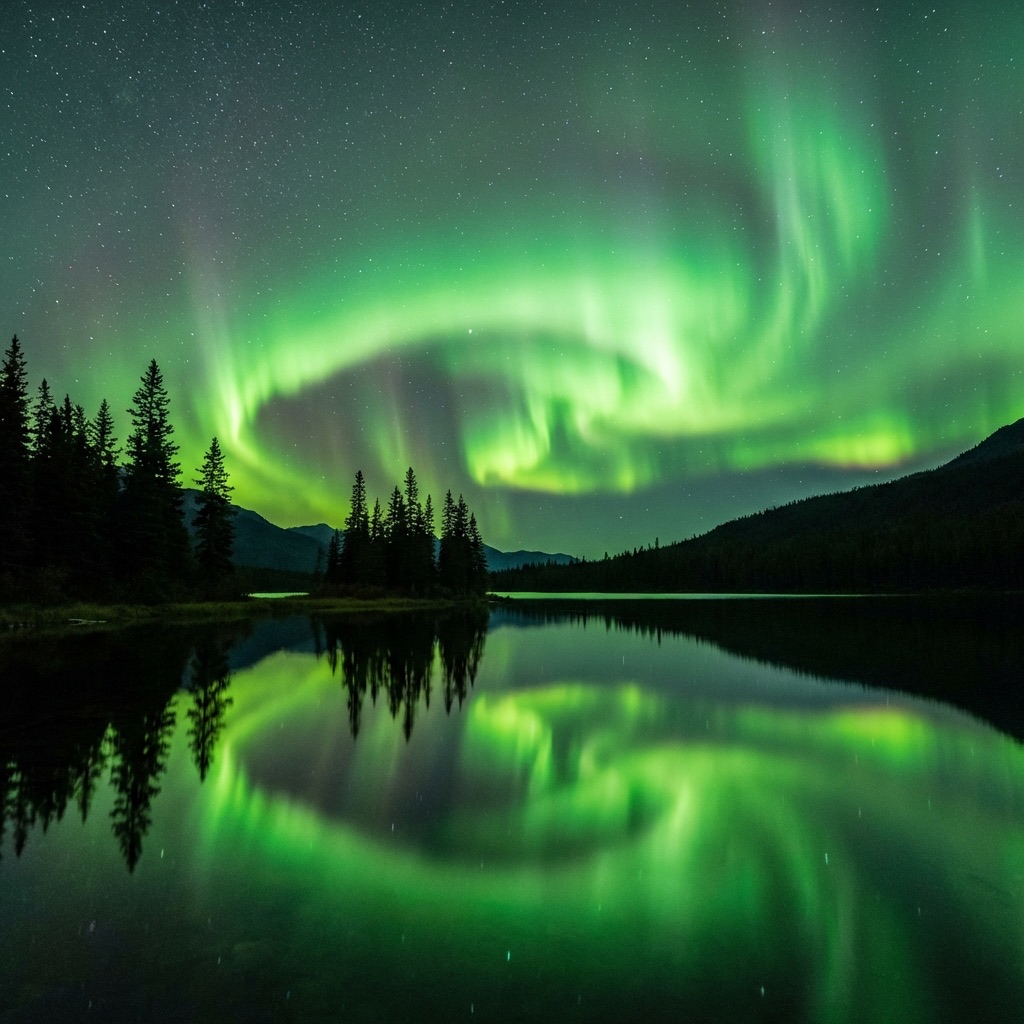
Aurora Photography: Settings & Gear for Stunning Shots
Master aurora photography with our complete guide. Learn the perfect camera settings, lens selection, and post-processing techniques for stunning results.
Stargazing Gear for Hobbyists: Level Up Your Experience
Level up your observing with serious binoculars, comfort upgrades like observation chairs, and advanced planning tools for marathon viewing sessions.
End of Dossier • Research Complete