
How to Photograph the Milky Way: A Field Guide
Plan a Milky Way photo around the season, Moon, sky transparency and your camera’s field of view. Start with a steady tripod and short test exposures; there is no single camera setting that works for every lens, sensor or sky.
On this page (7 sections)


Darkest Hour Team
Editorial team
Method: editorial synthesis of public astronomy references, official access information and published product specifications. Product picks are comparisons, not hands-on tests, unless a guide explicitly documents testing.
Conditions, access, prices and availability change. Report a correction.
Start with a simple kit
A camera with manual exposure controls, a wide lens, a stable tripod, a spare battery and a way to focus accurately are enough to begin. A remote release or the camera’s timer helps avoid shake. A tracker is optional: it can enable longer tracked exposures, but adds setup time and does not track foreground scenery. NASA's night-sky photography overview also recommends a camera, a wide-aperture lens and tripod as a basic starting point.
A fast wide-angle lens can be useful, but the best choice depends on your camera mount, sensor, budget and whether you value a wider view or more detail. Read independent reviews and check compatibility before buying.
Fast wide-angle lens for Milky Way photography
“Compare current wide-angle lens options and confirm mount compatibility, autofocus/manual-focus behavior, and full-frame versus APS-C coverage before purchase.”
Rationale
A wide-angle, fast lens is an option for gathering light in short exposures. Check camera mount compatibility and edge performance before buying.
We may earn a commission if you buy through this link.
When and where to find the Milky Way
The Milky Way is visible in different parts of the night sky at different times of year, and its position depends on your hemisphere, latitude, date and time. Use a current planetarium app to identify when the galactic centre or the region you want to frame is above your horizon. Avoid treating a fixed month or a universal post-sunset interval as a guarantee.
Plan for astronomical darkness and check Moon rise/set. Choose a location with a clear view in the intended direction, low nearby lighting, and safe, permitted access. Satellite night-light maps provide broad planning context rather than a live reading at your tripod.
Choose a useful night and location
Before travelling, check forecasts for cloud, wind, precipitation and any relevant weather warnings, then verify access with the land manager. Conditions can differ from a forecast at the exact site. Darkest Hour’s map gives geographic context, not measured darkness; its tonight planner shows available cloud and approximate Moon context. Read NASA’s beginner astrophotography guide for a simple stability, focus and exposure workflow and VIIRS map limitations before using a satellite map to compare locations.
Check access before travelling
Choose a composition and focus carefully
Use a planetarium app or a field test to see how the Milky Way fits your lens and foreground. Keep the camera outside restricted areas and avoid disturbing wildlife or other observers. For focus, magnify a bright star in live view and adjust manually until it is as small as your display allows; recheck after changing the lens or as temperature shifts. A lens's infinity mark is only a starting point, not a guarantee of sharp focus.
Focus and expose with test frames
Mount the camera securely, switch to manual focus, magnify a bright star in live view and adjust until it is as small as possible. Recheck focus after temperature changes or moving the lens.
Choose RAW capture if your camera supports it. Open the aperture as far as image quality allows, begin at a moderate-to-high ISO your camera handles acceptably, and use a short test exposure. Increase exposure only while stars remain acceptably round at your intended output size; the 500 rule is a rough historical shortcut and can allow visible trails on modern high-resolution cameras. Review the histogram and highlights, then adjust shutter time, aperture and ISO as a trade-off rather than treating one preset as universal.
Bracket a few frames
Compose and process carefully
Include a foreground only where you can do so safely and without entering restricted land. Avoid illuminating other people or wildlife; use a dim red light only when appropriate and permitted. Capture a few compositions and check for condensation, dew, aircraft and satellite trails.
For processing, make restrained adjustments to white balance, contrast, noise and gradients. Preserve faint stars and Milky Way detail; aggressive denoising, saturation or local contrast can create artifacts. Save the original RAW files and export a full-resolution copy before resizing for the web.
Plan, capture and review the session
Use the Tonight planner to review available cloud and Moon context, then check the Starlink sky view for estimated passes. Its predictions cover a search sample; other satellites can still cross a frame. Take several test frames, inspect star shape at the size you will publish, and record the date, location, lens, focus method and exposure settings. In processing, adjust white balance, contrast, noise and gradients with restraint; long exposures can show more colour and detail than the eye sees. Keep original RAW files and compare your edits with them.
Frequently Asked Questions
Q:When can I photograph the Milky Way?
It depends on hemisphere, latitude, date, time, Moon and the part of the galaxy you want. Check a current planetarium app for your exact location and observing window.
Q:What settings should I start with for Milky Way photography?
There is no universal preset. Use manual focus, a stable tripod, RAW capture where available, and a short test exposure. Adjust shutter time, aperture and ISO for your focal length, sensor, sky and desired star shape.
Q:Do I need a star tracker?
No. A tripod-only setup is a practical starting point. A tracker can support longer exposures of the sky, but requires alignment and tracked frames do not keep the foreground stationary.
Q:Can Darkest Hour show light pollution on its map?
No. The measured-darkness layer is currently unavailable. Treat the map as a field-guide and forecast experience, not a source of light-pollution measurements.
Affiliate disclosure
Darkest Hour may earn a commission from qualifying purchases through partner links at no extra cost to you. This includes Amazon equipment links and accommodation bookings.
Free checklist
Before you head out
- Check the cloud forecast and Moon for your chosen time and place.
- Confirm access, opening hours and safe travel conditions.
- Bring warm layers and a dim torch; use enough light to move safely.
- Take a sky chart and any binoculars you already have. A telescope is optional.
Explore the guides
Our articles are free. Printable PDF manuals are available to purchase.
Related articles
Keep exploring
Astrophotography gear guide: phone, camera and deep-sky setups
Compare a phone starter setup, wide-field camera and tracker, and deep-sky imaging equipment. Understand compatibility, setup trade-offs and when an upgrade is useful.

Bortle scale explained: what the nine classes mean
Understand the nine Bortle classes, how they differ from sky-brightness measurements, and what a satellite-light map can tell you.
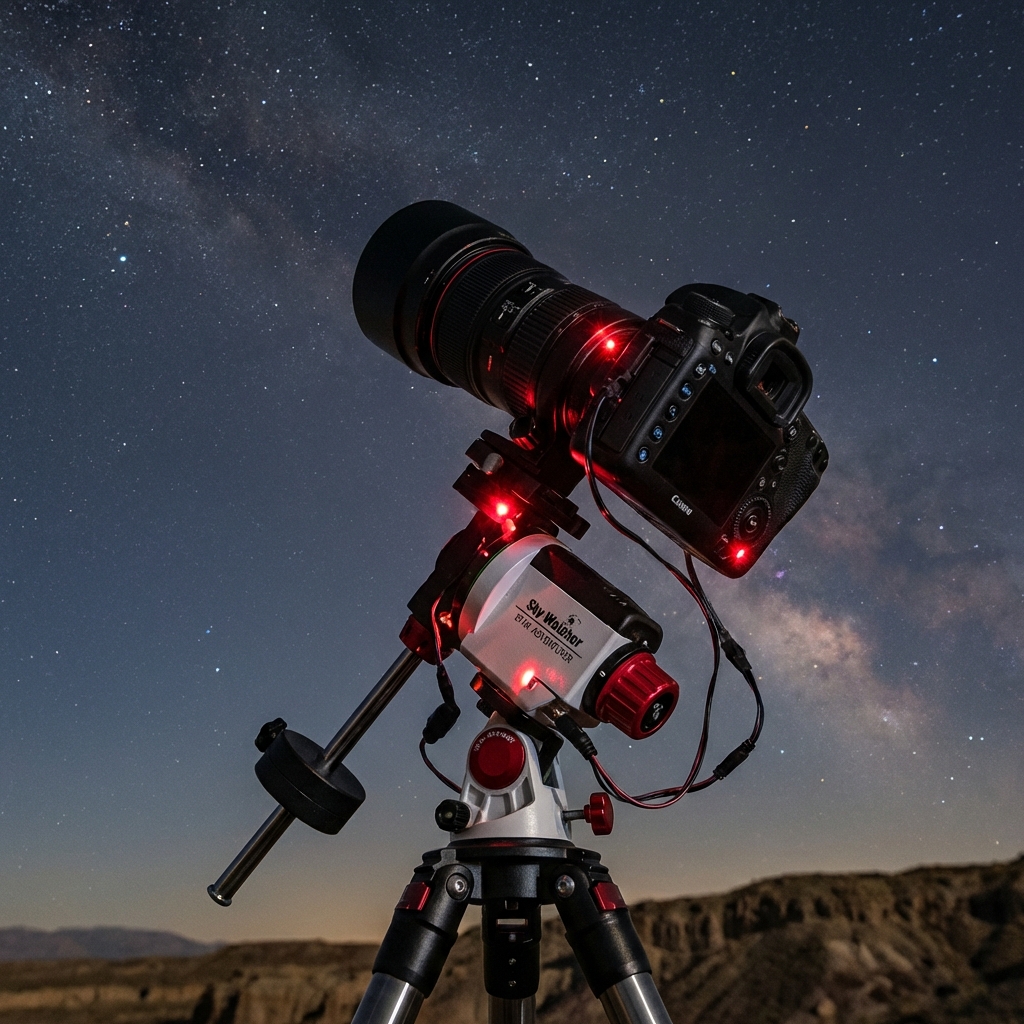
How to use a star tracker for night-sky photography
Set up a camera tracker, align it with the celestial pole and troubleshoot star trails with a practical first-session workflow.
End of guide • Corrections welcome